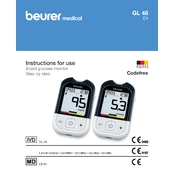
Beurer GL 48 mgl/dL Instructions for Use

To set up your Beurer GL 48, insert the batteries, set the date and time, and perform a control test to ensure the meter is functioning correctly.
If an error message appears, refer to the user manual to identify the error code. Common solutions include checking the test strip, ensuring the meter is clean, and verifying that the test strip is inserted correctly.
Clean the monitor with a soft, damp cloth. Avoid using alcohol or abrasive cleaning agents. Ensure the test strip port is free from dust and debris.
The Beurer GL 48 does not require manual calibration. It is calibrated by the manufacturer. Always use the compatible test strips for accurate results.
Check the battery compartment to ensure the batteries are correctly inserted and have sufficient charge. Replace the batteries if necessary.
It is recommended to use only Beurer GL 48 approved test strips to ensure accurate readings and to maintain the warranty.
Refer to the target blood glucose ranges provided by your healthcare professional. The meter displays results in mg/dL, and you should compare these with your target range.
Use the USB cable provided to connect the meter to your computer. Use the Beurer HealthManager software to transfer and manage your data.
Test strips should be stored in their original container at temperatures between 4°C and 30°C (39°F and 86°F) and should be kept dry and away from direct sunlight.
Ensure your hands are clean and dry before testing, use fresh test strips, and follow the instructions carefully. Regularly check the expiration date on your test strips.